1. Open the downloaded PFX file obtained from SSL.com by giving it a double-click. The file name will typically have a “.p12” extension.

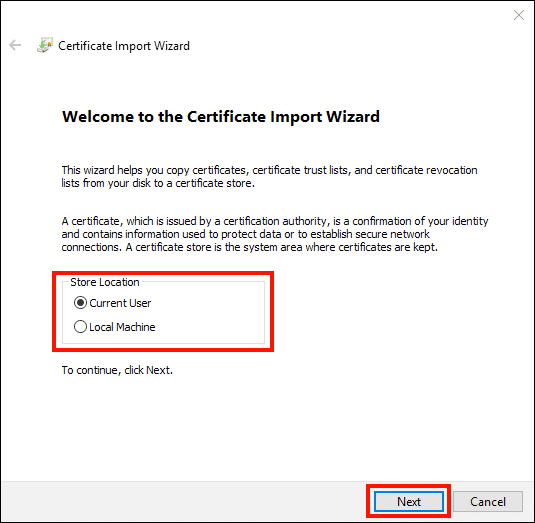
2. Upon doing so, the Certificate Import Wizard will be launched. Depending on your desired scope, you’ll need to choose whether to install the certificate for the Current User or Local Machine. Refer to Microsoft’s documentation for detailed insights into these options. Subsequently, proceed by clicking the Next button.
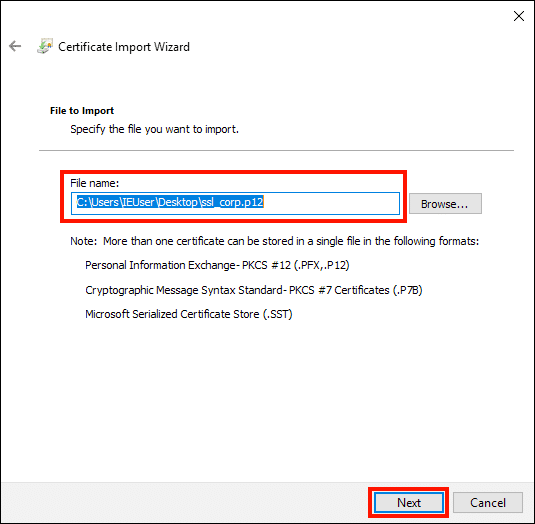
3. Ensure that the file displayed in the File name field matches the intended import file, and then continue by clicking the Next button.
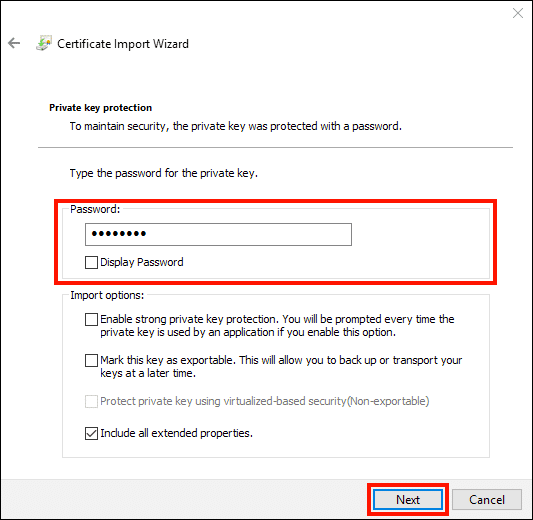
4. Provide the password you generated during the PFX file download process from SSL.com. In the Import Options section, verify that the “Include all extended properties” option is selected. If you wish to receive prompts for your PFX password each time the private key is used, select the “Enable strong private key protection” option. To allow the export of a PFX with the private key at a later time, mark the “Mark this key as exportable” option. After configuring these options, proceed by clicking the Next button.
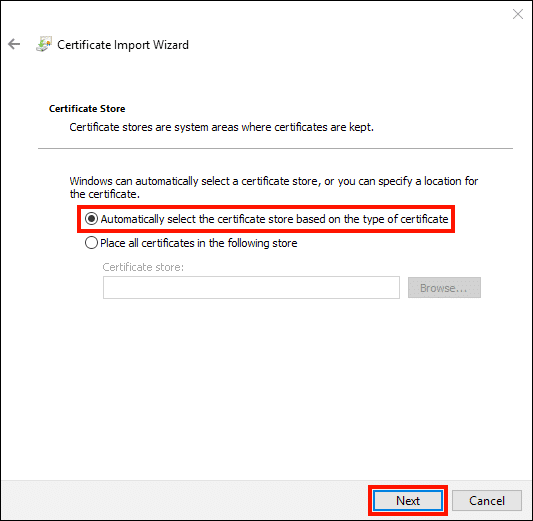
5. Keep the “Automatically select the certificate store based on the type of certificate” option unchecked, then click the Next button.
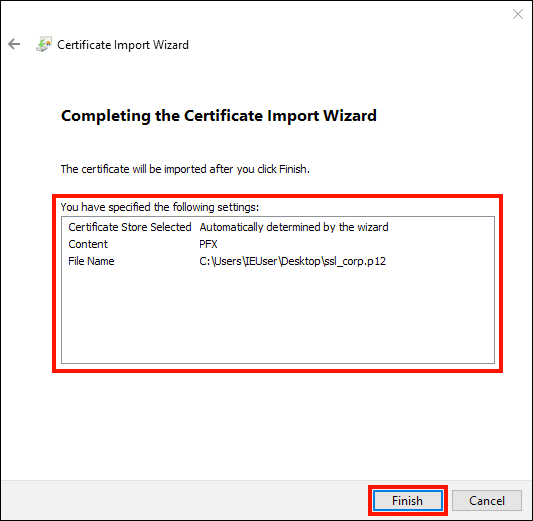
6. Carefully review the displayed information for accuracy, and once verified, click the Finish button.
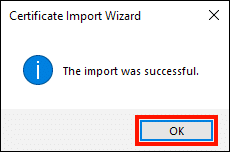
7. With these steps completed, you’re all set! To exit the wizard, simply click the OK button.

Gloria Bradford is a renowned expert in the field of encryption, widely recognized for her pioneering work in safeguarding digital information and communication. With a career spanning over two decades, she has played a pivotal role in shaping the landscape of cybersecurity and data protection.
Throughout her illustrious career, Gloria has occupied key roles in both private industry and government agencies. Her expertise has been instrumental in developing state-of-the-art encryption and code signing technologies that have fortified digital fortresses against the relentless tide of cyber threats.